
Note: I use this specific rocket with an air compressed launcher. NOT the water launcher. For maximum height, this rocket type requires a burst of compressed air.
**What You Need**
- 3 pieces of white printing paper. (Or any color you would like.)
- Packing tape
- 1 plastic bag
- scissors
Step 1:
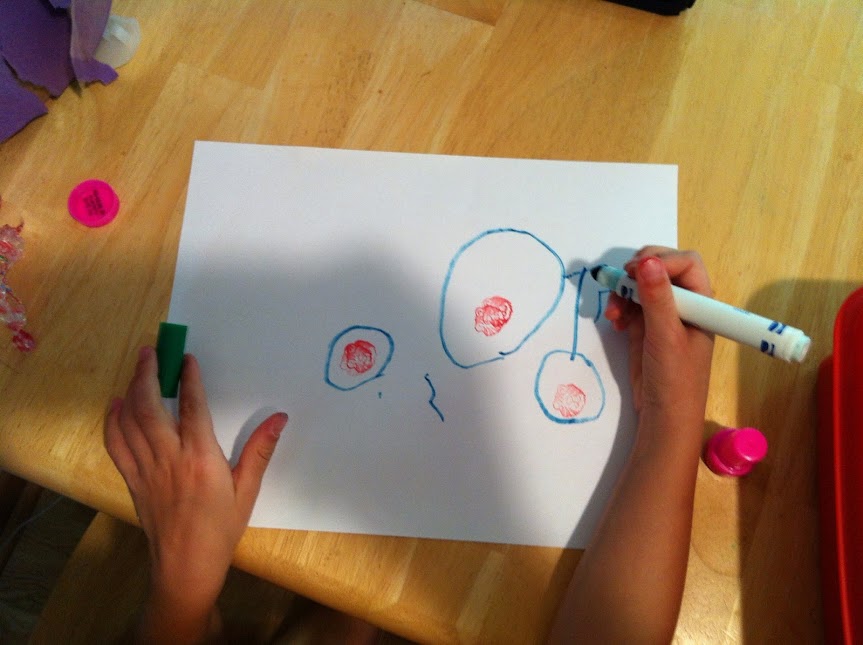
Design your rockets fuselage.
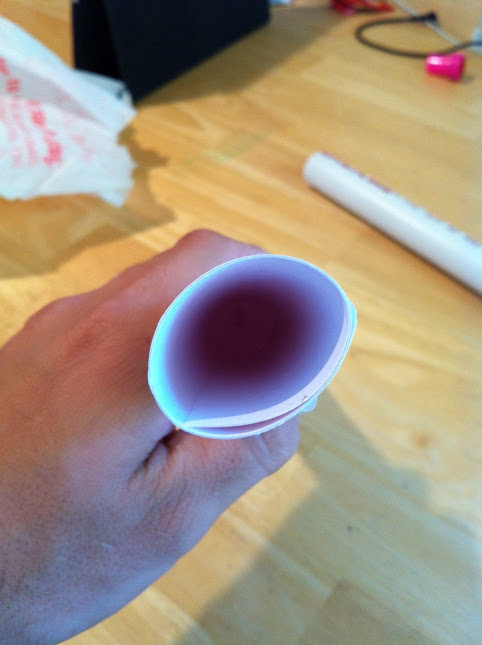
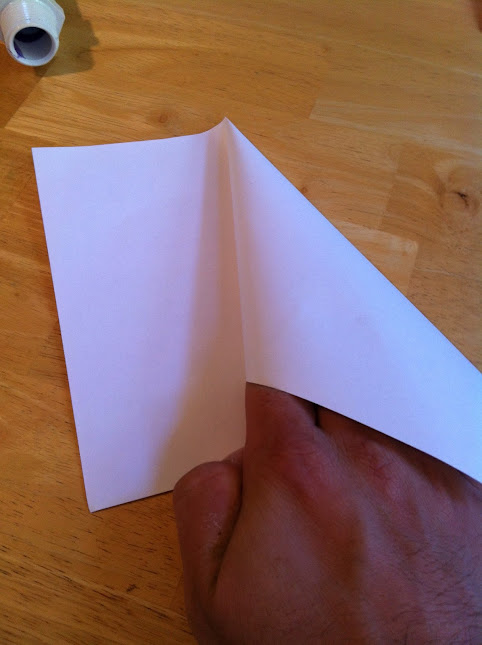
Step 2:
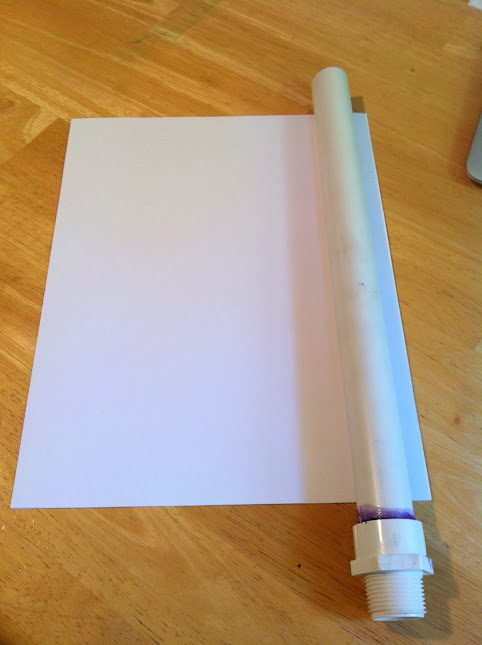

Take the sheet of paper you decorated and place it on top of another. You should have two pieces of paper for the fuselage. Wrap the sheets around launcher tube. It may be a little bigger than the tube. I would suggest not making it too tight as that might cause your rocket to have a blow out.
Step 3:
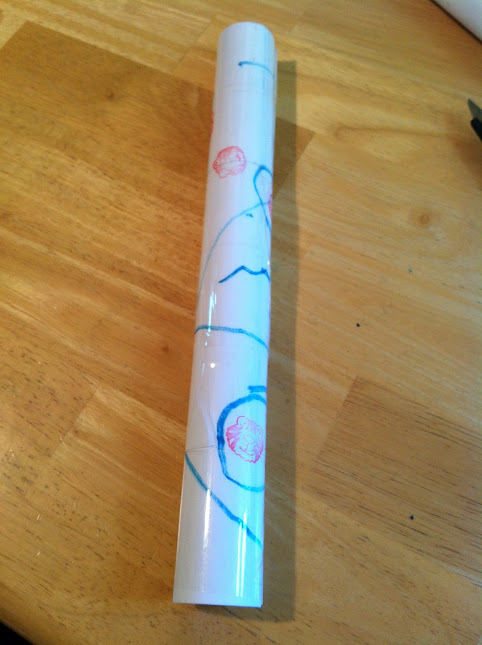
Wrap tape around the fuselage. This tape will help maintain the structure of the rocket as air is forced into the fuselage.
Step 4:
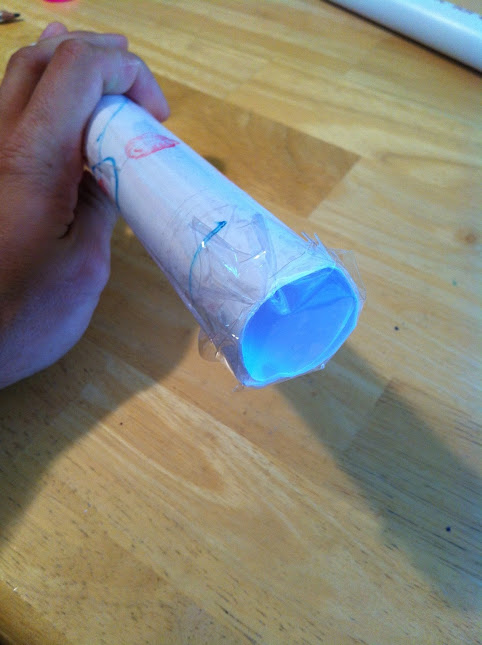
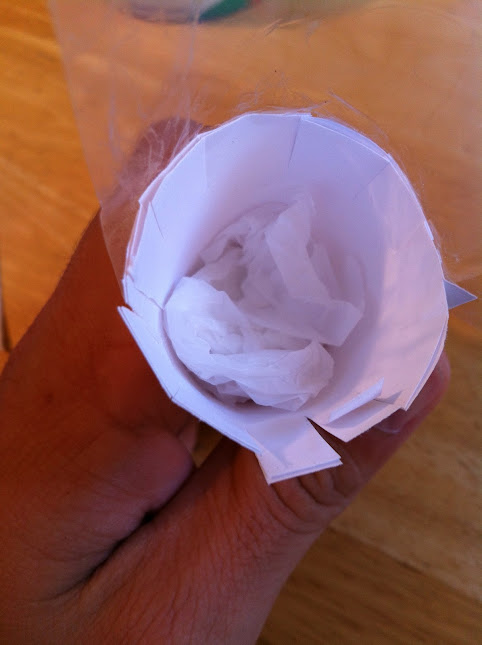
Step 5:

Shove some of the plastic from your plastic sack to the top of the fuselage. This helps seal the air and adds weight.
Step 6:
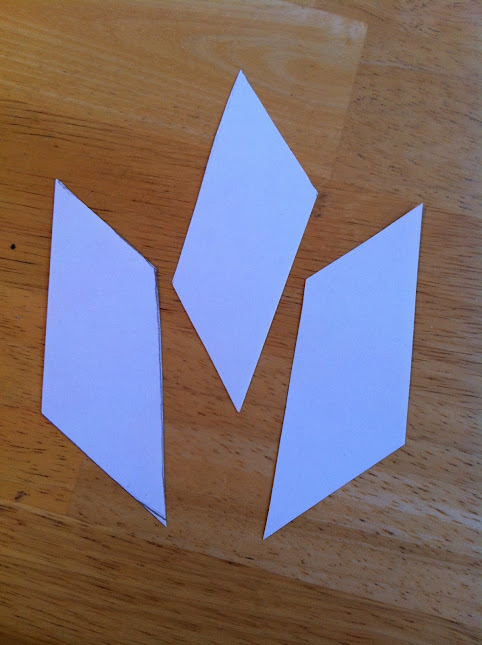

It's time to make your stabilizers. You can be creative with these. I cut mine into three parallelograms. I suggest three, but no more than four to my students. Cover the stabilizers with tape.
Step 7:

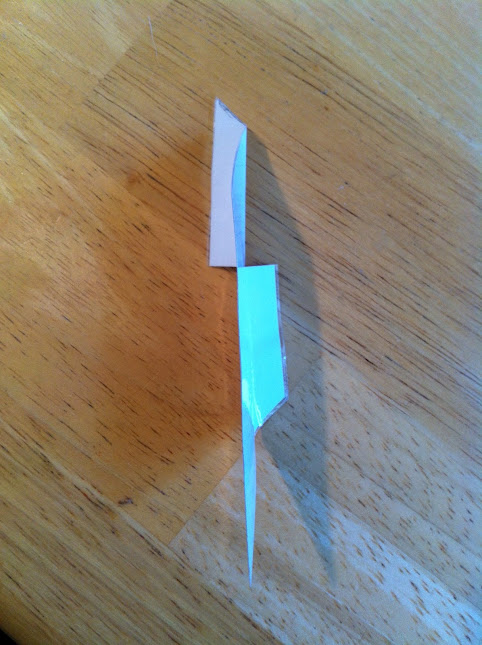

Make a single cut on one side of the stabilizer and fold the two halves in opposite directions. After you have cut and made the folds, attach your stabilizers to the bottom of your fuselage.
Step 8:
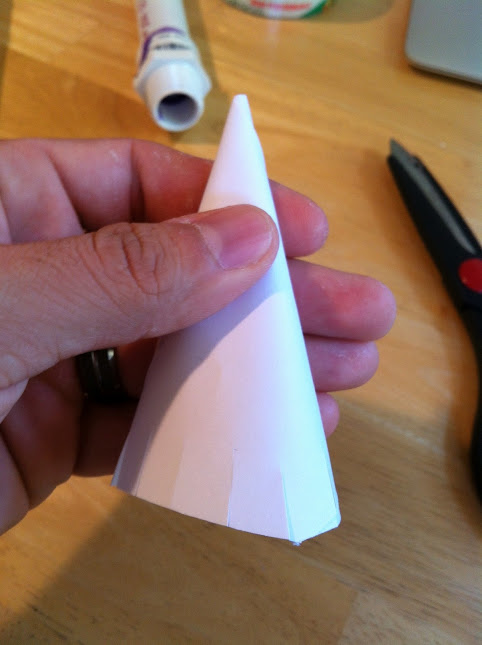
It's time to make the cone (payload) for your rocket. This is a bit tricky to make. I used the leftover paper from my stabilizers, and squared it off. Then I rounded the paper into a point and taped it off. You can experiment with different ways to make your nose cone.
Step 9:
Cut your nose cone to fit your fuselage. Let the bottom of the nose cone hang over the top of the fuselage about a half an inch and cut slits every 1/4 of an inch or so. Next, shove the leftover plastic from your sack into the tip of your nose cone. This will help with the inevitable brutal impact and with any luck preserve your rocket for many flights.
Step 10:
Connect your nose cone with tape and your rocket is complete. Take to the skies.